Sitemaps are important for every website or blog which allows google webmasters to crawl your website and when your blog is been updated. A sitemap is a way to put all your blog links in one place. Your sitemap acts as an archive for every page on your website. This helps search engine to crawl all your pages and get indexed. The more pages indexed the more trust your website builds.
It means that your site has more information to offer. The sitemap allows search engines to crawl newer content on your website and it helps crawling and indexation rate of your website. Though it won’t help you rank higher instantly or does it show super results it is recommended to have a sitemap for every website.
How to add a sitemap to a WordPress website or blog?
There are many free plugins to generate a sitemap for WordPress. The most used sitemap plugin is
Google XML Sitemaps developed by Arne Brachhold.
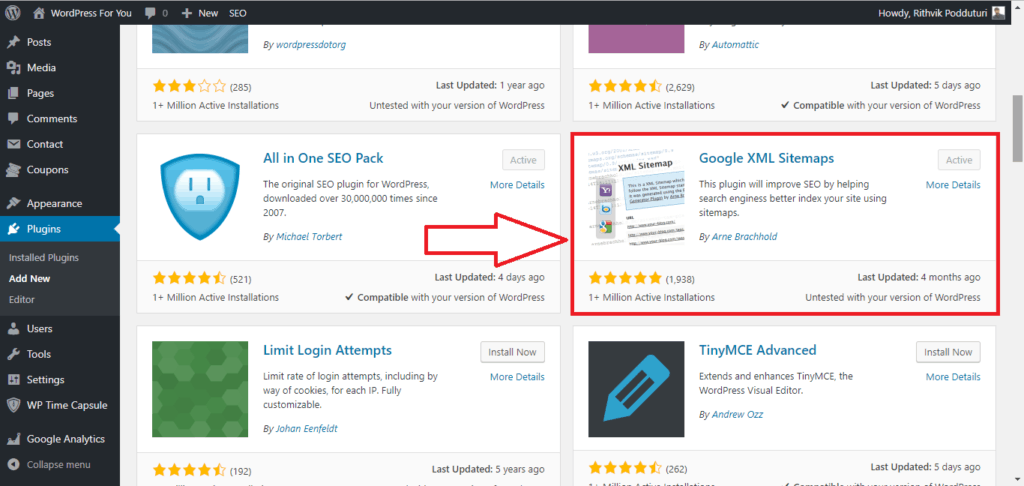
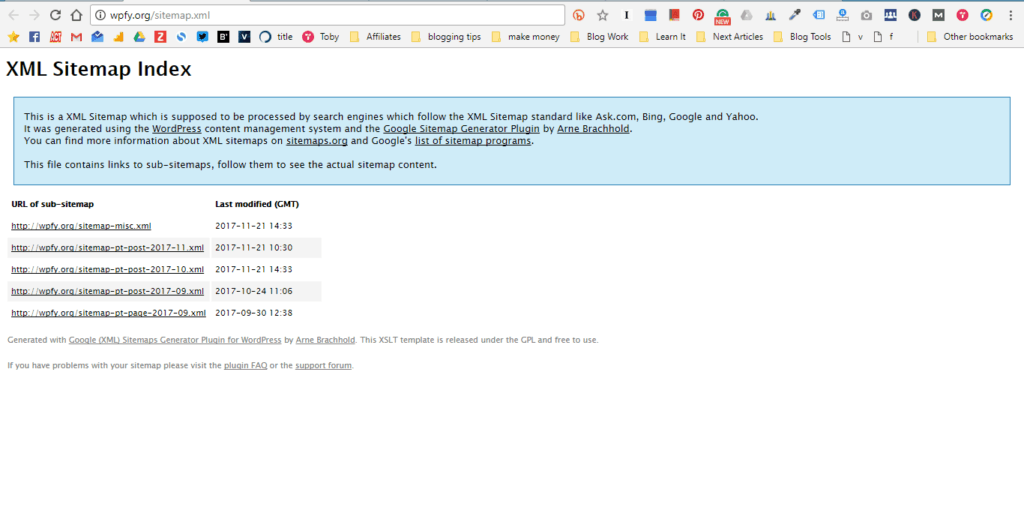
After activating the plugin in this will create a sitemap on the page
yourblog.com/sitemap.xml
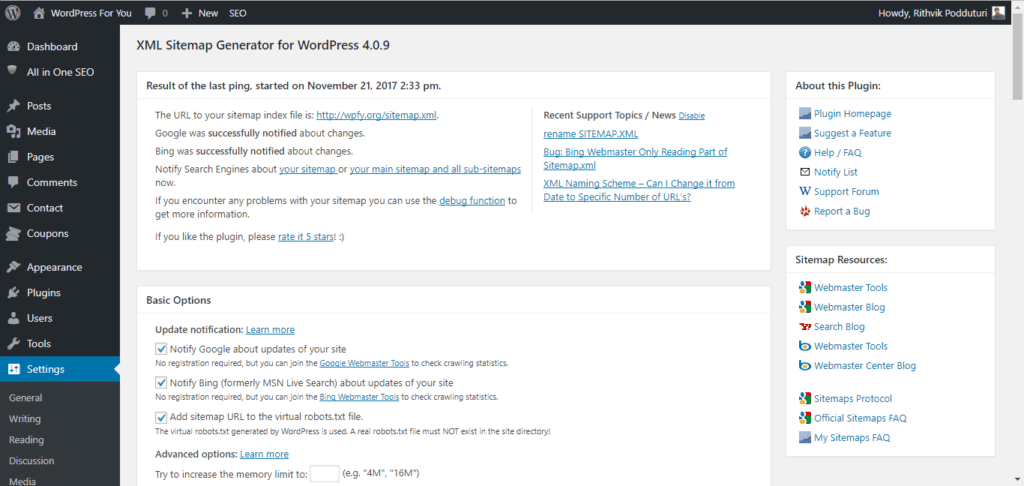
This will automatically submit updates to Google and Bing webmasters. It will also add the URL to the virtual robot.txt file. This plugin will let you select the sitemap content.
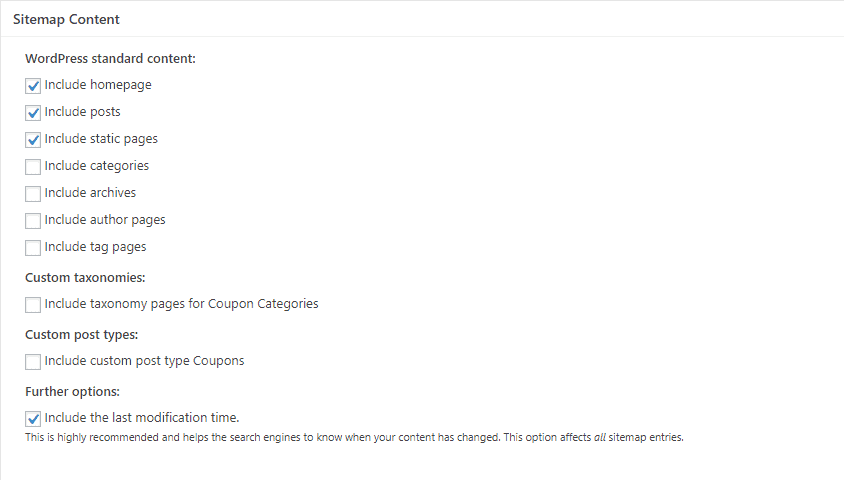
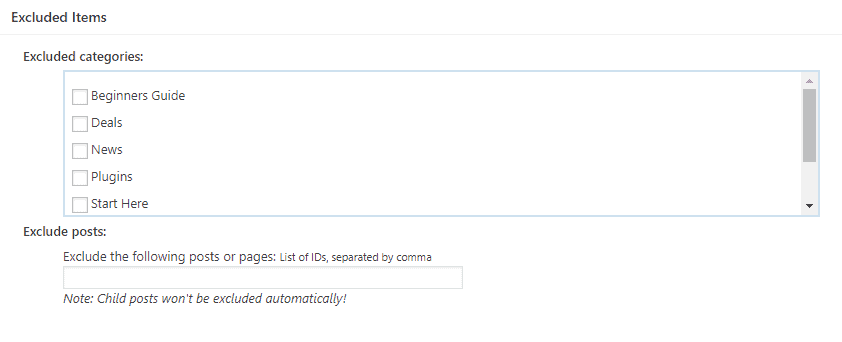
You can exclude the content you would not like the search engines to crawl. You can exclude complete categories by choosing them from the list. You can also exclude pages or posts using the list of ID.
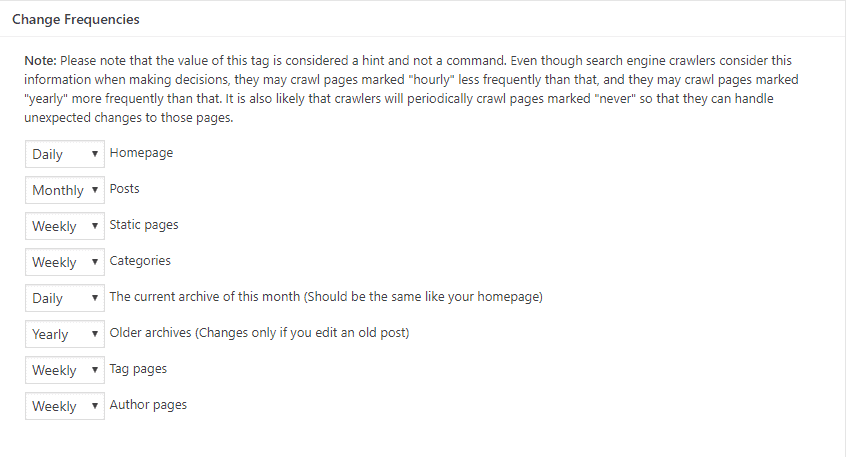
This plugin allows you to change the frequency of crawls of your website’s different pages.
However, even if it is to never google crawls to handle unexpected changes.
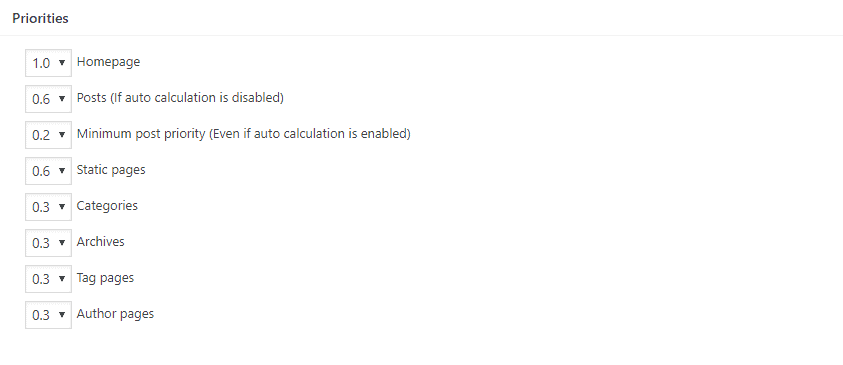
The other option which this plugin gives is to change the priority of the crawl. You can change the priority of the homepage to author page using this.
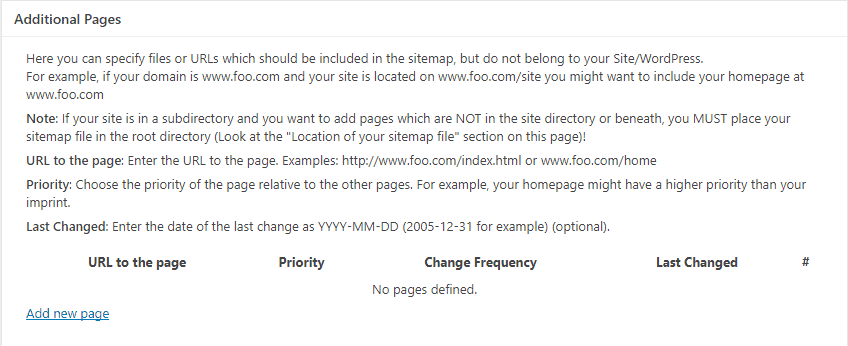
Google XML sitemap allows you to notify your sitemap and all sub-sitemaps.
You can also specify files or URL’s which are not on your site like sub-domains of your website.
This is what your sitemap.xml looks 🙂
Now you have your sitemap ready for your blog you need to submit it to google webmaster.
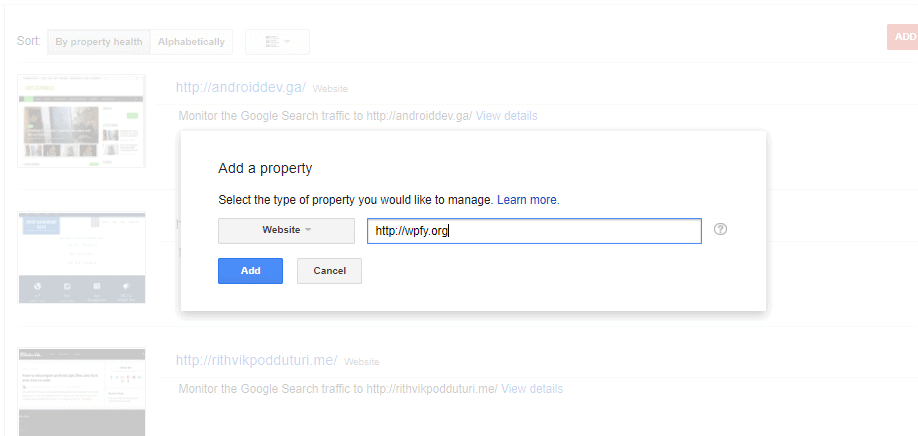
Login to your Google Webmaster account. You need to add your property(website) to the Google Webmaster account

Make sure you enter your website URL properly be careful will choosing https:// or http:// and make sure if you are using www. or not for your website. If you are unsure about it navigate to your home and copy paste the URL from the address bar.
After adding your website to the account you need to verify the ownership of the same. Google suggests you with different types of verification methods. The best way of verifying your website for Google Webmaster is to add a meta tag to your website. The other easy way is to upload a .html file to your website using FTP or Cpanel.

How to add a meta tag to your WordPress for verification of Google webmaster. Click on alternative methods to access other methods.
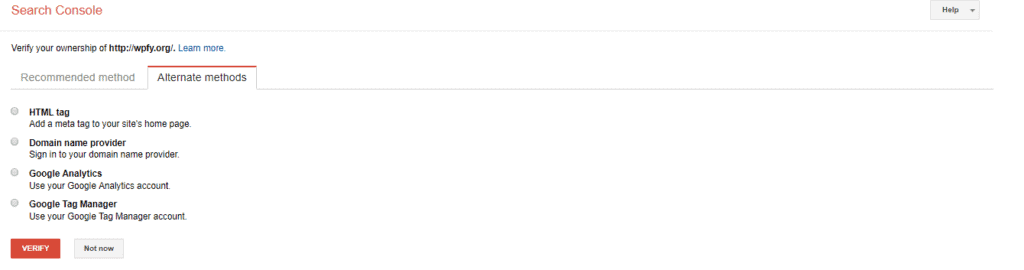
Select the HTML tag method. This shows you the meta tag which should be added to your homepage for verification.

Copy the Meta tag visible on the screen. Now open your WordPress dashboard.
Navigate to Appearance -> Editor

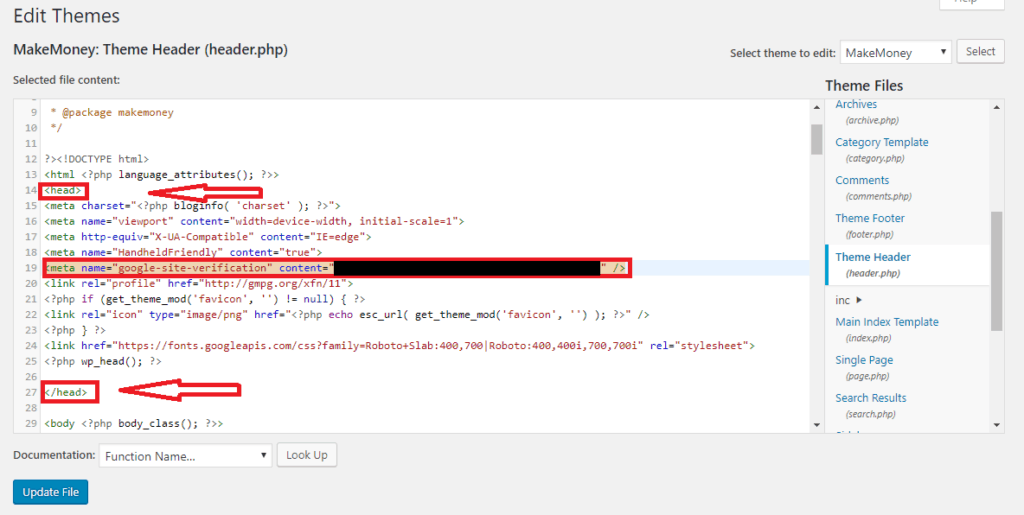
Now you need to add the Meta tag in the header.php file in the left panel.
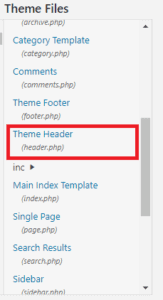
After you open the header.php which is generally named has Theme Header file. You need to paste the Meta Tag inside the <Head> tags in the code. Make sure you place in after <Head> and before </Head> tag. After pasting the Meta Tag in the code click on the Update File button.
Now to your webmaster page and click on Verify button. If everything goes fine you will have a message similar to this.

Click on continue, this will take you to the search console dashboard.
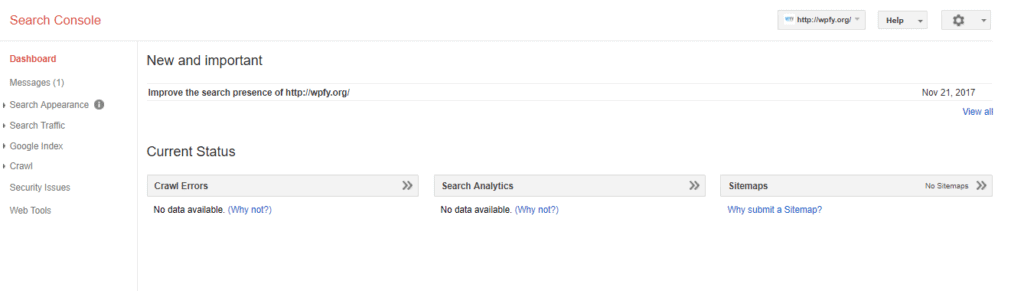
Now click on Crawl menu where you can find sitemaps option.
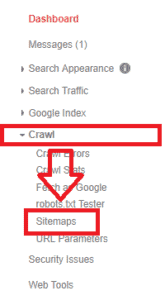
You can find Add sitemap option in the left corner of the screen.

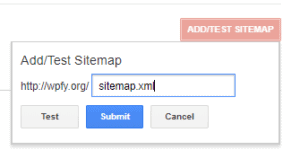
Enter your sitemap and click on submit. or you can test your sitemap before submitting to the webmaster.
Enter sitemap.xml and hit the submit button. You can also check your sitemap in the above steps after installing the Google XML sitemap plugin. After submitting hit the refresh button has prompted on the screen.
After hitting the refresh button you can see the submitted sitemap on the screen.
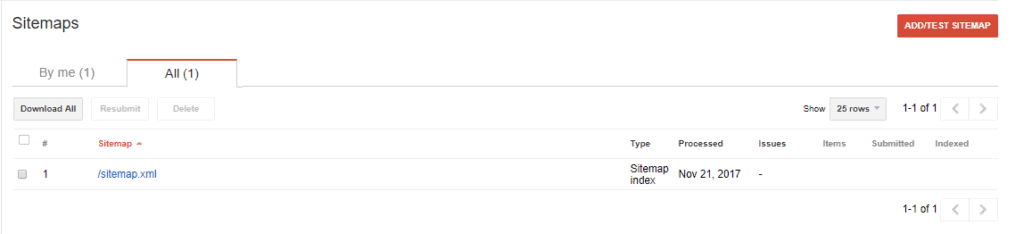
Cheers, you have successfully added a sitemap to your wordpress website/blog and submitted it to Google webmaster.
Let me know in comments if you have any questions regarding submitting a sitemap or generating sitemaps for WordPress.
Please share if this article is useful.
Have a look at the Ten recommended plugins for every blog