Why should you use the contact form on your blog/website?
Contact forms help your readers or customers get in touch with you in simple and easy steps.
It will help when your users want to enquiry about your products or services you offer. Having a contact form is the easiest way your readers can reach you instead of giving them an email id to send an email. Many of them lose their interest in copy pasting the email to send an email.
Contact forms help you keep away from spam many scrape bots search for the mailto tag on your page, by having a contact form you can avoid many spam emails. You can get the right information you want from your users/customers. Contact forms help you add the information you need like phone number, address and other details which you require from your user.
There are many Contact form plugins available in the WordPress store. The one we recommend and use of WpFY is Contact Form 7. It has a neat and easy interface to create a form and add other required fields in the contact form.
There is the step by step guide to add a contact form to WordPress.
Step One:
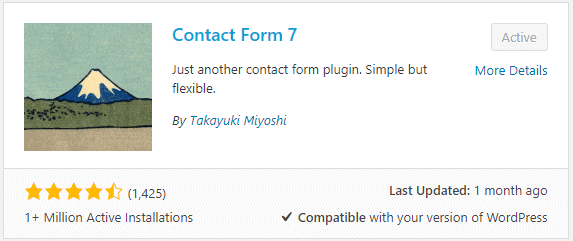
Go to plugins and search for Contact Form 7.
Install and activate the plugin.
Now go to the settings page of the plugin which can be done by navigating through
Dashboard > Find “CONTACT” and click
Step Two:
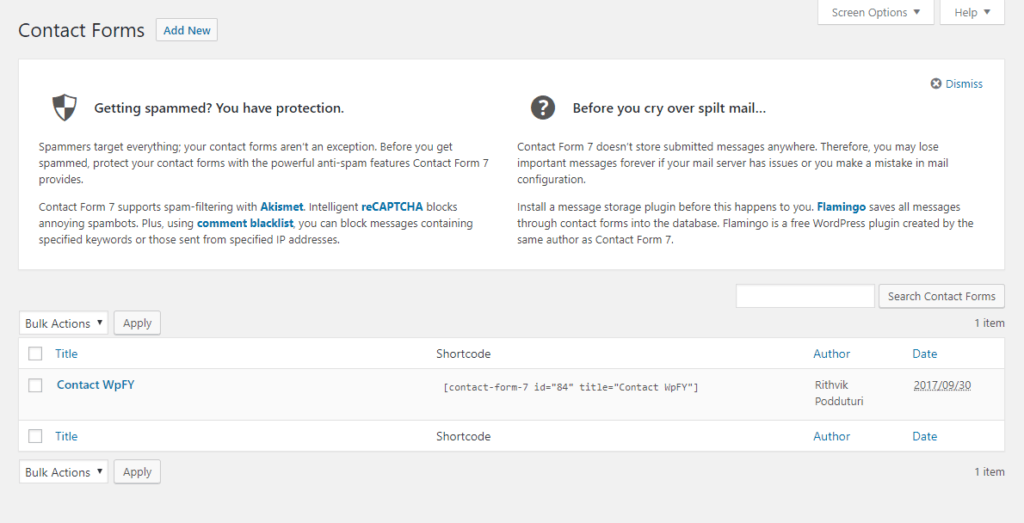
Here is the main page of the Contact Form 7 plugin. Here you can find the instructions of the plugin and some other additional information about it.
Below you can find the contact form available to use. By default, you can find a contact form ready to use. Beside the name of the contact form, you can find the shortcode of the contact form. You can insert the shortcode in any of your page or post you wish to.
Step Three:
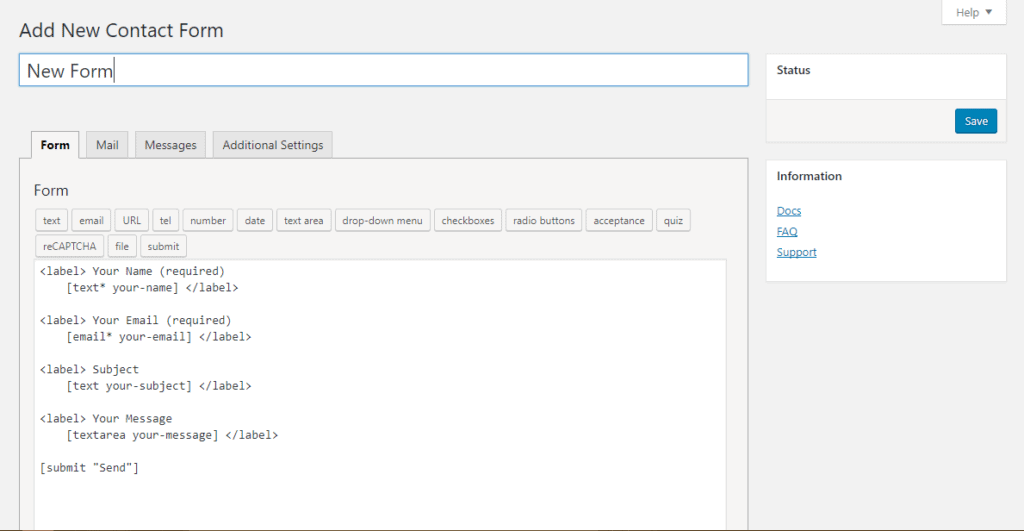
Either you can customize the default contact form or create a new one by clicking on the “Add New” button on the top left. After creating a new contact form you can find some default fields on the form like Your Name, Your Email, Subject and Your Message with the send button. All the fields are in the form of HTML tags. Here you can customize your form by clicking on the field you want which are available on the top the text area. You can add different fields like URL, Number, Date, Drop-Down Menu etc. before you add a field I suggest you move the cursor to the desired line to add the field. It is not rocket science just add a field after the closing HTML tag, for example, add a new field after </label> to show the field below it.
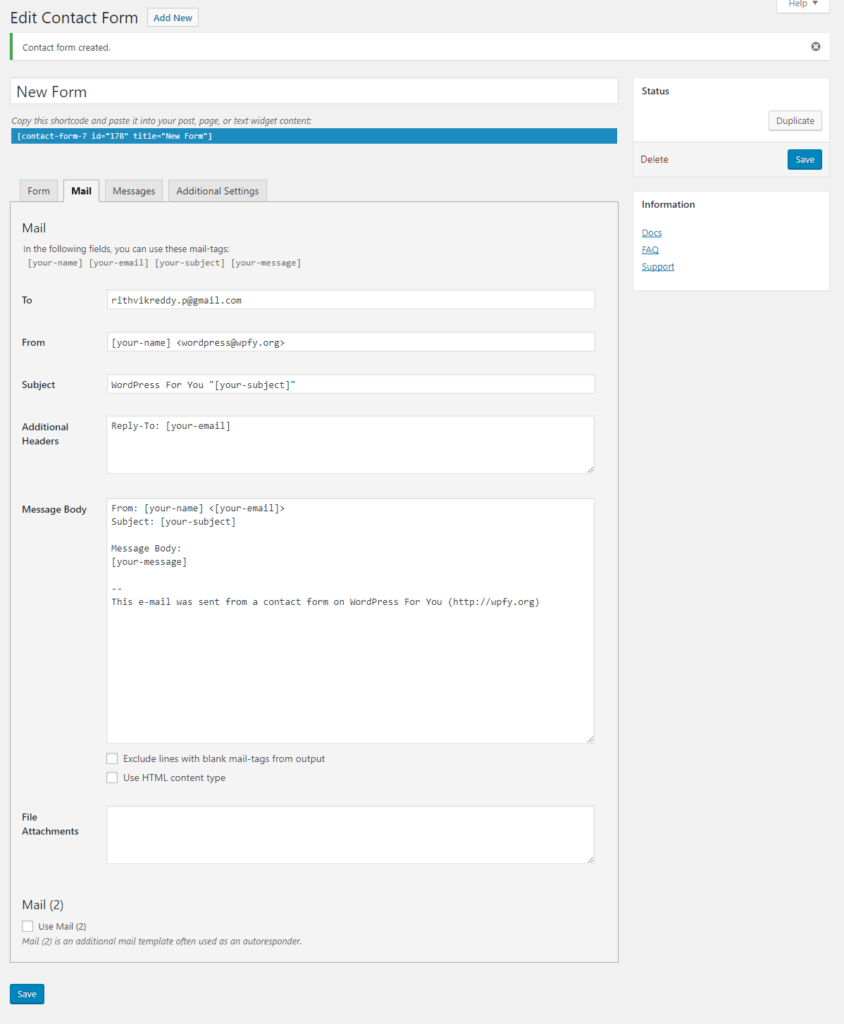
Step Four:
Whenever someone fills the form you can get an email with the fields the user has filled.
To get the emails, you need to select the Mail option. This will allow you to choose what fields should be included in the email you receive. By default, the plugin uses the admin email which was used to register on WordPress. You can specify the subject line, body, and attachments for the email. You can choose to exclude the blank mail-tags from the output.
Step Five:
Acknowledging the user about their message is really important. Contact Form & allows you to use different messages for different situations. You can specify messages for different situations.
There are more than 10 situations where you can specify messages like successfully sent, spam detection, data limit, invalid date format, minimum and maximum date limit and so on.
![]()
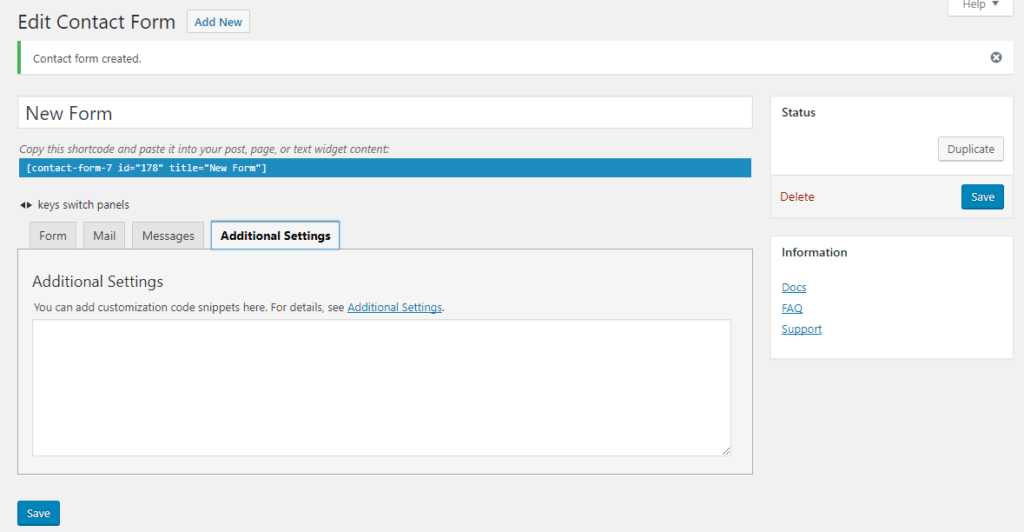
Step Six:
If you wish to have any additional settings for your form you can add the code snippets here.
Step Seven:
Click on the “SAVE” button. This will create a new shortcode for your form.
You can use the shortcode either on a page or a post where you wish to use the form.

Here are the Recommended Plugins for every WordPress Site
Learn How to Generate SiteMap in easy steps
What to Learn more about Blogging Visit TheBlogger